博客搭建
前期准备
nodejs 安装及环境配置
注意:如果在第五步使用
npm config set registry https://registry.npmmirror.com安装淘宝镜像时报错,建议通过管理员身份运行命令提示符重新运行该命令。
Git 的下载及配置
安装及配置git
并将ssh密钥绑定至github
利用ssh -T git@github.com测试是否绑定成功
博客初始化
本地在合适位置创建名为Blog文件
在其中右键启用git bash,输入1
hexo init
如若产生报错
1
hexo: command not found
建议利用管理员身份在Blog目录下运行
1
npx hexo init
或者可以在命令提示符中运行
1
npm install -g hexo-cli
或者可以在
hexo init后重新键入npm install解决问题
(具体选择以上几种尝试)hexo s生成本地博客界面
在本地可以访问http://localhost:4000/得到本地博客初始界面
按ctrl +c可以结束访问修改
config.yml文件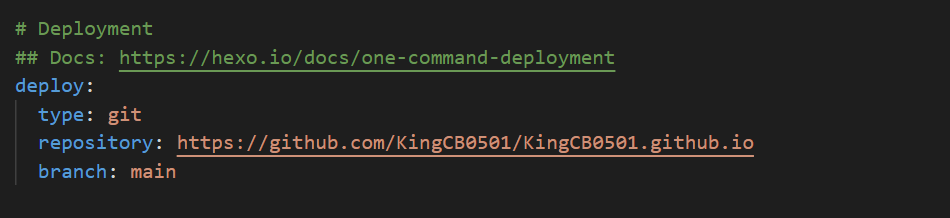
在deploy中按照如下格式对deploy项进行配置(KingCB0501是我的个人GitHub账户的名称)
同时设置该文件中url为https://username.github.io安装
hexo-deploer-git自动部署发布工具
在Blog目录下启动git bash,运行如下命令1
npm install hexo-deployer-git --save
如果报错的话可以利用管理员身份运行
hexo g生成页面在
git bash中运行1
hexo g
hexo d推送在个人github账号上新建
username.github.io仓库如果打开了代理服务,建议暂时关闭
在git bash中运行
hexo d,按照提示操作在利用令牌登录时,
username填写github账号名称,密码填写github个人访问令牌(PAT),不是github密码PTA查询方式
Settings -> Developer settings -> Personal access tokens -> Generate new token -> 勾选repo 权限 -> 复制令牌
==Tips==:如果某些命令运行错误,可能由于权限问题,建议使用管理员身份重新运行
如果顺利完成以上步骤,现在可以通过https://username.github.io访问个人博客页面了,只不过页面还没有经过美化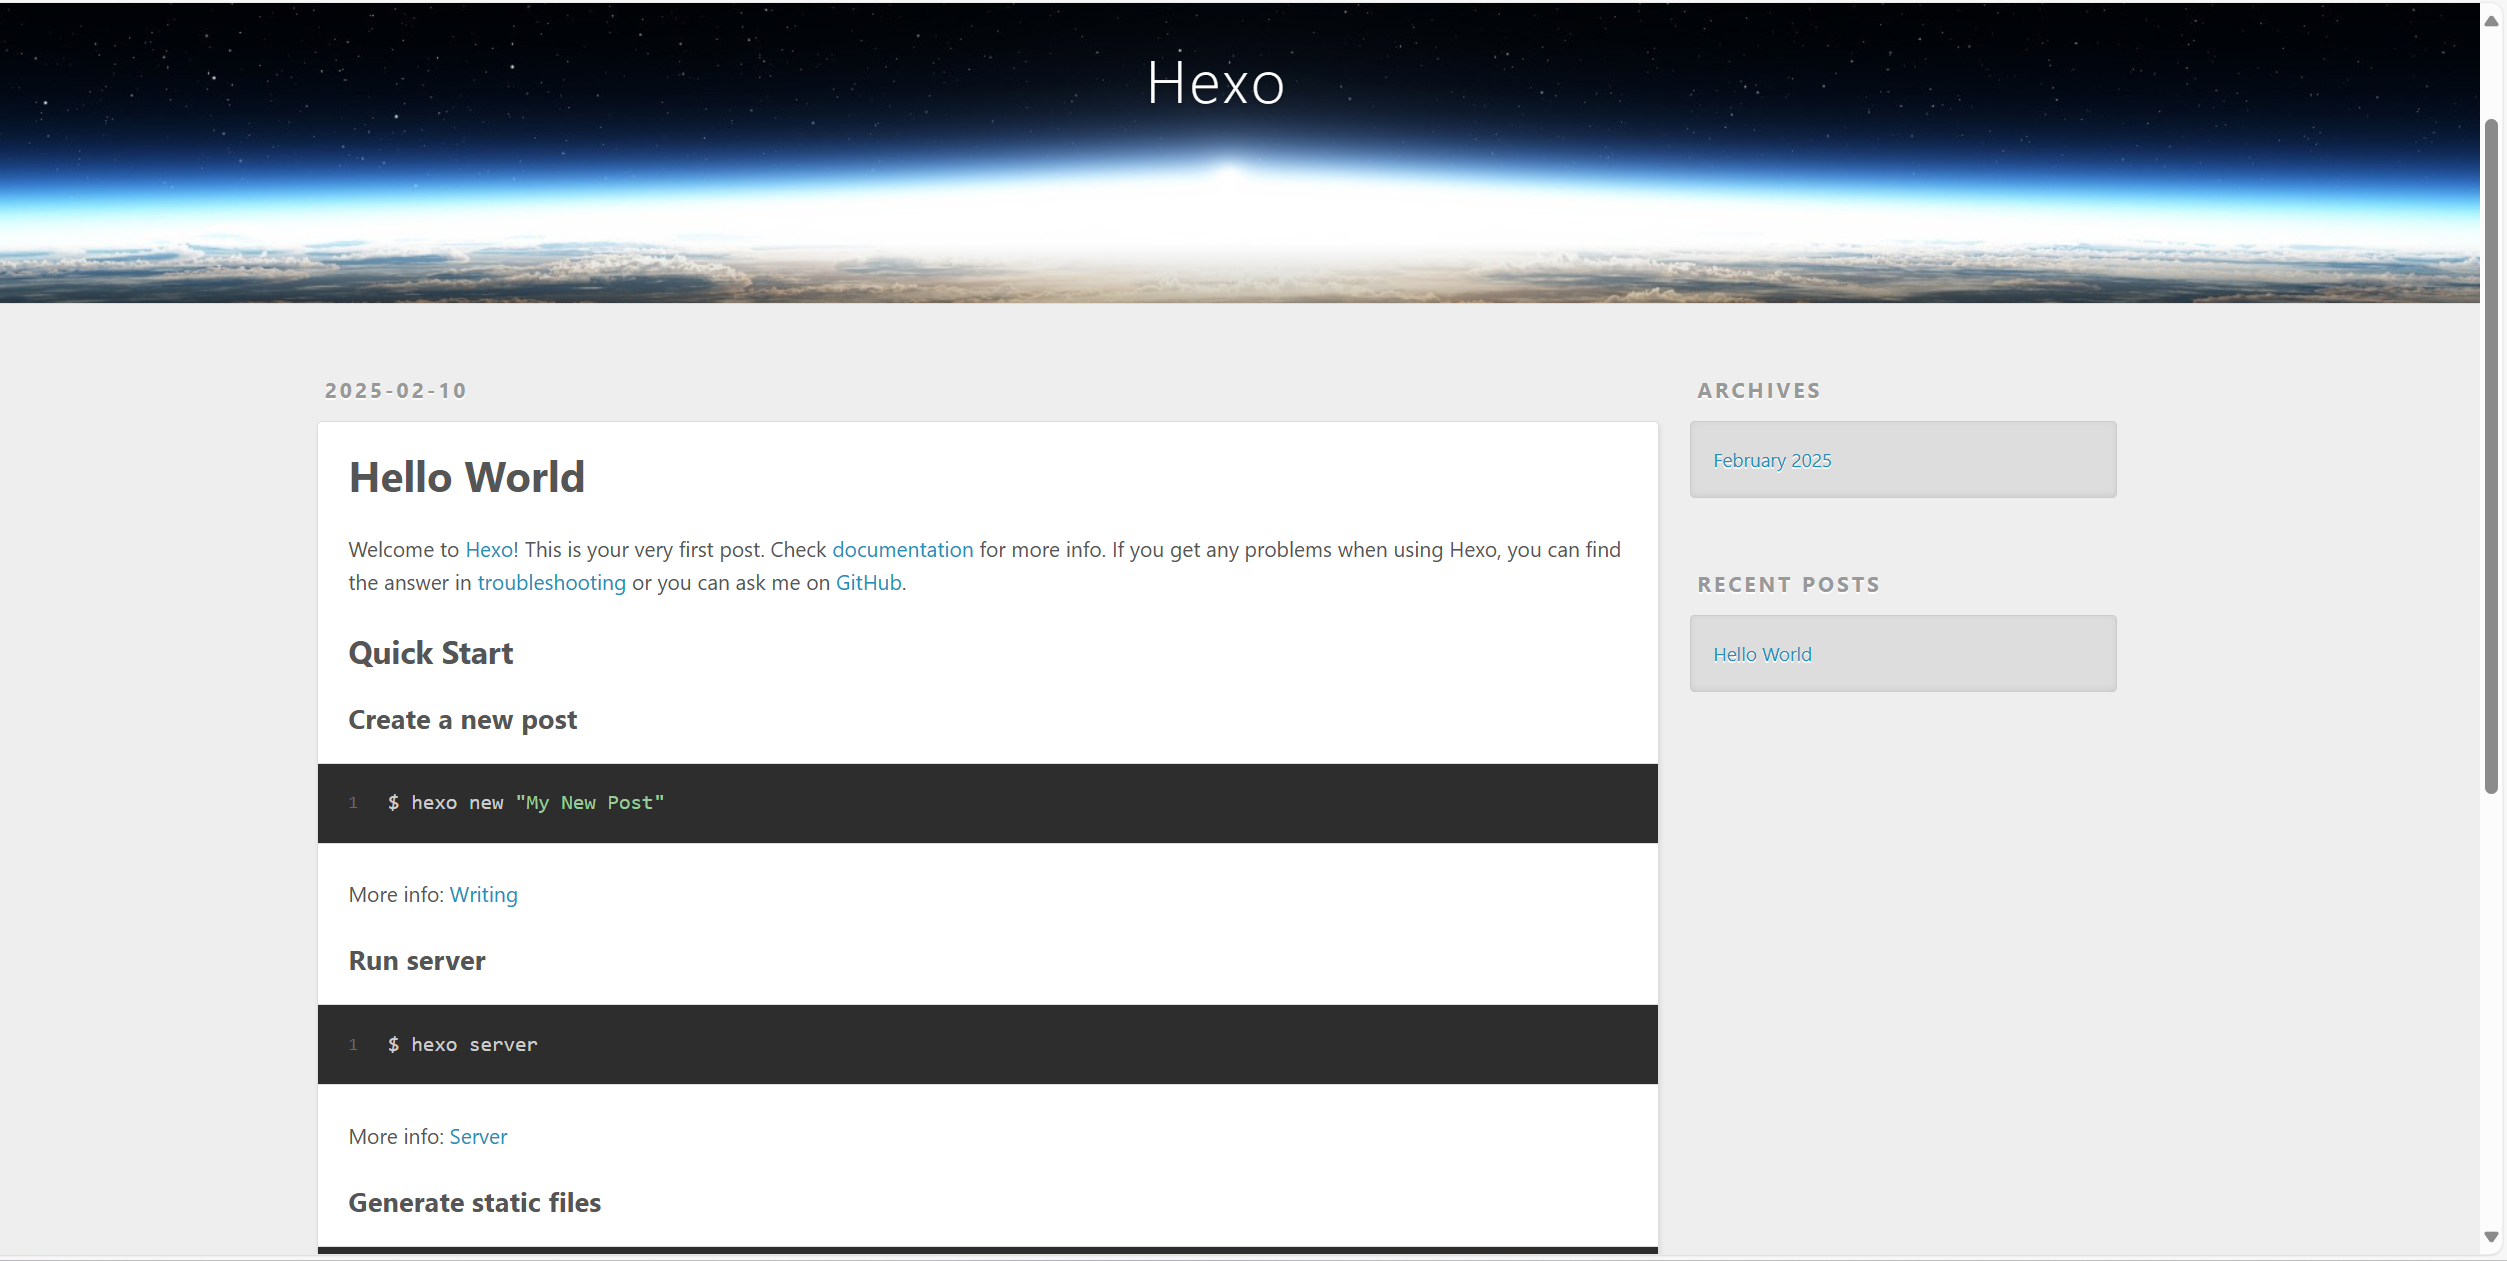
新博客推送
新博客建立
在Blog目录中启动
gitbash,键入1
hexo new "Blog name"
在
D:\Blog\source\_posts文件夹中会新增名为Blog name.md文件, 在对其进行所需修改后在git bash键入1
2hexo g
hexo d之后可以在
https://kingcb0501.github.io中查询浏览最新上传文件标签分类设置
在markdown 文件中开始处设置1
2
3
4tags:
- hexo
- Blog
categories: Blog图片放置
图片放置在
D:\Blog\source\images中,采用相对路径博客删除
直接在
D:\Blog\source\_posts中删除对应Markdown文件头图配置
在Markdwon文件开始处增加cover项,图片放在images文件夹中
1
cover: /images/博客搭建/cover.png
Hexo 基础修改
hexo 官方文档:https://hexo.io/zh-cn/docs/commands.html
参考链接:https://haiyong.site/post/cda958f2.html
每次修改Blog网页: 在Blog根目录下启动gitbashhexo c && hexo g && hexo d一键三连
修改网站关键信息
网站资料:例如标题,副标题和邮箱等个人资料,相关修改在根目录中
_config.yml中进行1
2
3
4
5
6
7
8# Sit
title: KingCB
subtitle: 'BUAAer'
description: ''
keywords:
author: KingCB0501
language: zh-CN
timezone: ''
博客关键页面生成
标签页
进入hexo博客根目录,在git bash中执行1
hexo new page tags
在
source\tags\index.md中,修改如下:1
2
3
4
5---
title: 标签
date: 2025-02-11 00:12:20
type: "tags"
---分类页
进入hexo博客根目录,在git bash中执行1
hexo new page categories
在
source\categories中,修改如下:1
2
3
4
5---
title: 分类
date: 2025-02-11 00:17:06
type: "categories"
---友情链接
创建友情链接页面:
进入hexo博客的根目录,执行1
hexo new page link
在
source\link\index.md中,修改如下:1
2
3
4
5---
title: 友情链接
date: 2025-02-11 00:27:48
type: "link"
---友情链接添加:
在hexo博客目录下的source文件夹下自建_data文件夹,创建文件link.yml
1 | - class_name: 本站 |
yml文件中注意空格对齐等
关于我
进入hexo博客根目录,在git bash中执行1
hexo new page about
在
source\about\index.md中,修改如下:1
2
3
4
5---
title: 关于作者
date: 2025-02-11 00:36:03
type: "about"
---导航栏设置
在
_config.butterfly中1
2
3
4
5
6
7menu:
主页: / || fas fa-home
文章: /archives
分类: /categories
标签: /tags
友情链接: /link
关于我: /about
Butterfly应用
Butterfly安装
在命令提示符中进入博客根目录(Blog)下运行
1
git clone -b master https://github.com/jerryc127/hexo-theme-butterfly.git themes/butterfly
修改
_config.yml文件中的theme为butterfly
安装插件
如果没有pug以及stylus的渲染器,请在Blog目录下载安装1
npm install hexo-renderer-pug hexo-renderer-stylus --savebutterfly
如果报错,建议切换为管理员身份重新尝试
升级建议
为避免升级主题后带来的不便,可以在本地新建
_config.butterfly.yml文件,并复制_config.yml文件,之后的修改均在此文件中进行,但是_config.yml文件中的theme需要修改为butterfly
每次做完更改后,可以利用
hexo g && hexo s在本地查看最新效果
Butterfly美化
与Butterfly主题相关设置均在D:\Blog\themes\butterfly\_config.yml中进行
代码块优化
1 | code_blocks: |
背景图&顶部图设置
相关图片均存放在D:\Blog\source\images文件夹中
| 配置 | 解释 |
|---|---|
| index_img | 主页图片 |
| default_top_img | 默认的各页面顶部图,当各页面没有特殊配置时,则启用该图片 |
| footer_img_url | 页面底部图片 |
| background | 背景图 |
| avatar | 头像 |
| facicon | 标签页图片 |
我在设置背景图后,本地预览时显示正常,但是部署到github时无法显示,问题排查无果,遂采取以下方法解决:
在D:\Blog\themes\butterfly\source\css\index.styl文件中加入了以下代码:
1 |
|
主页副标题设置
1 | subtitle: |
简单特效设置
| 特效 | 变量区 |
|---|---|
| 鼠标点击效果 | firewords |
| 字数统计 | wordcount (先运行安装npm install hexo-wordcount —save or yarn add hexo-wordcount) |
| 网站运行时间 | runtimeshow |
| 侧边栏设置 | aside |
最终
播放音乐、搜索、评论等功能敬请期待!
特别鸣谢: